How do I enable the autocomplete function?
To enable the autocomplete function in your Sheepy account, begin by logging into the Dashboard and navigating to the Integration section within your account settings. From there, select the Integration Profile that you wish to configure. Within the profile settings, locate the option labeled “autocomplete” and check the corresponding box to activate it.
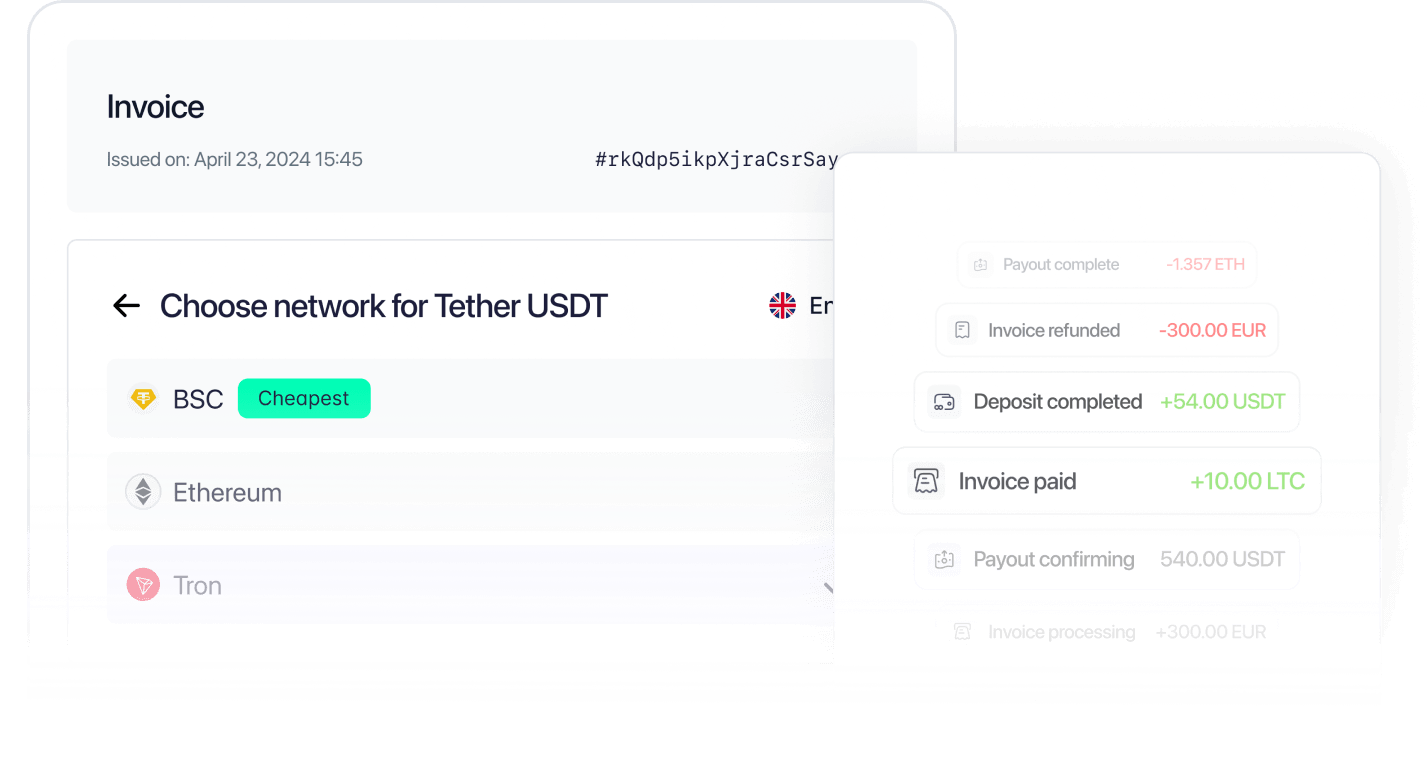
Once this feature is enabled, all future invoices generated through that integration profile will automatically be marked as “completed” as soon as the payment is received and verified – regardless of minor discrepancies in the transferred amount. This is particularly useful in cases where customers slightly underpay or overpay due to exchange rate fluctuations or rounding differences. By automating this process, the autocomplete function helps reduce manual intervention, minimize delays in settlement, and streamline your operational flow. You can always monitor status updates and payment details in the invoice section of your Dashboard. For technical guidance, visit the API documentation or contact our support team at [email protected].

'%3e%3cpath%20d='M5.33337%2017.3333C5.76671%2020.7093%207.84137%2023.708%2010.6667%2025.3333'%20stroke='%231C1D3B'%20stroke-width='2'%20stroke-linecap='round'%20stroke-linejoin='round'/%3e%3cpath%20d='M26.6667%2014.6667C26.3406%2012.3203%2025.2521%2010.1462%2023.5688%208.47934C21.8856%206.81246%2019.701%205.74524%2017.3516%205.44209C15.0021%205.13893%2012.6182%205.61666%2010.5669%206.80168C8.51571%207.98669%206.911%209.81326%206%2012'%20stroke='%231C1D3B'%20stroke-width='2'%20stroke-linecap='round'%20stroke-linejoin='round'/%3e%3cpath%20d='M5.33337%206.66666V12H10.6667'%20stroke='%231C1D3B'%20stroke-width='2'%20stroke-linecap='round'%20stroke-linejoin='round'/%3e%3cpath%20d='M16%2020H18.6667C19.0203%2020%2019.3594%2020.1405%2019.6095%2020.3905C19.8595%2020.6406%2020%2020.9797%2020%2021.3333V22.6667C20%2023.0203%2019.8595%2023.3594%2019.6095%2023.6095C19.3594%2023.8595%2019.0203%2024%2018.6667%2024H17.3333C16.9797%2024%2016.6406%2024.1405%2016.3905%2024.3905C16.1405%2024.6406%2016%2024.9797%2016%2025.3333V26.6667C16%2027.0203%2016.1405%2027.3594%2016.3905%2027.6095C16.6406%2027.8595%2016.9797%2028%2017.3333%2028H20'%20stroke='%231C1D3B'%20stroke-width='2'%20stroke-linecap='round'%20stroke-linejoin='round'/%3e%3cpath%20d='M24%2020V22.6667C24%2023.0203%2024.1405%2023.3594%2024.3905%2023.6095C24.6406%2023.8595%2024.9797%2024%2025.3333%2024H26.6667'%20stroke='%231C1D3B'%20stroke-width='2'%20stroke-linecap='round'%20stroke-linejoin='round'/%3e%3cpath%20d='M28%2020V28'%20stroke='%231C1D3B'%20stroke-width='2'%20stroke-linecap='round'%20stroke-linejoin='round'/%3e%3c/g%3e%3cdefs%3e%3cclipPath%20id='clip0_17690_160'%3e%3crect%20width='32'%20height='32'%20fill='white'/%3e%3c/clipPath%3e%3c/defs%3e%3c/svg%3e)
'%3e%3cpath%20d='M10.6667%208.00001C10.6667%207.29277%2010.9477%206.61449%2011.4478%206.11439C11.9479%205.61429%2012.6262%205.33334%2013.3334%205.33334H24.0001C24.7073%205.33334%2025.3856%205.61429%2025.8857%206.11439C26.3858%206.61449%2026.6667%207.29277%2026.6667%208.00001V18.6667C26.6667%2019.3739%2026.3858%2020.0522%2025.8857%2020.5523C25.3856%2021.0524%2024.7073%2021.3333%2024.0001%2021.3333H13.3334C12.6262%2021.3333%2011.9479%2021.0524%2011.4478%2020.5523C10.9477%2020.0522%2010.6667%2019.3739%2010.6667%2018.6667V8.00001Z'%20stroke='%231C1D3B'%20stroke-width='2'%20stroke-linecap='round'%20stroke-linejoin='round'/%3e%3cpath%20d='M5.33337%2013.3333C5.33337%2012.6261%205.61433%2011.9478%206.11442%2011.4477C6.61452%2010.9476%207.2928%2010.6667%208.00004%2010.6667H18.6667C19.374%2010.6667%2020.0522%2010.9476%2020.5523%2011.4477C21.0524%2011.9478%2021.3334%2012.6261%2021.3334%2013.3333V24C21.3334%2024.7072%2021.0524%2025.3855%2020.5523%2025.8856C20.0522%2026.3857%2019.374%2026.6667%2018.6667%2026.6667H8.00004C7.2928%2026.6667%206.61452%2026.3857%206.11442%2025.8856C5.61433%2025.3855%205.33337%2024.7072%205.33337%2024V13.3333Z'%20stroke='%231C1D3B'%20stroke-width='2'%20stroke-linecap='round'%20stroke-linejoin='round'/%3e%3c/g%3e%3cdefs%3e%3cclipPath%20id='clip0_17690_177'%3e%3crect%20width='32'%20height='32'%20fill='white'/%3e%3c/clipPath%3e%3c/defs%3e%3c/svg%3e)